
Drywall repair after water damage
After the structure is dry, Vault’s crew replaces the drywall under the same license, so you don’t need a second contractor.
- Call any hour: (385) 250-2825 is answered live 24/7 by the Vault crew. 45-minute arrival inside Provo city limits (Monday–Saturday, 8 AM–5 PM); typically under 60 minutes elsewhere in our Utah County service area.
- In-house: drywall replacement, texture matching, prime and paint, done by the same crew that did the drying.
- Who does the work: Vault’s own W-2 crew, IICRC certified in WRT, ASD, AMRT and OCT, under Utah DOPL General Contractor License #11876543-5501. No subcontractors. Meet the team
- Insurance: Xactimate scopes, direct billing to State Farm, USAA, Allstate, Farmers and Bear River Mutual.
- Warranty: 24-month workmanship warranty on the rebuild. Warranty details · Financing
- Family-owned and veteran-operated, based in Provo since 2020.
Water damage restoration · Mold remediation · Sewage cleanup · Reconstruction & repairs
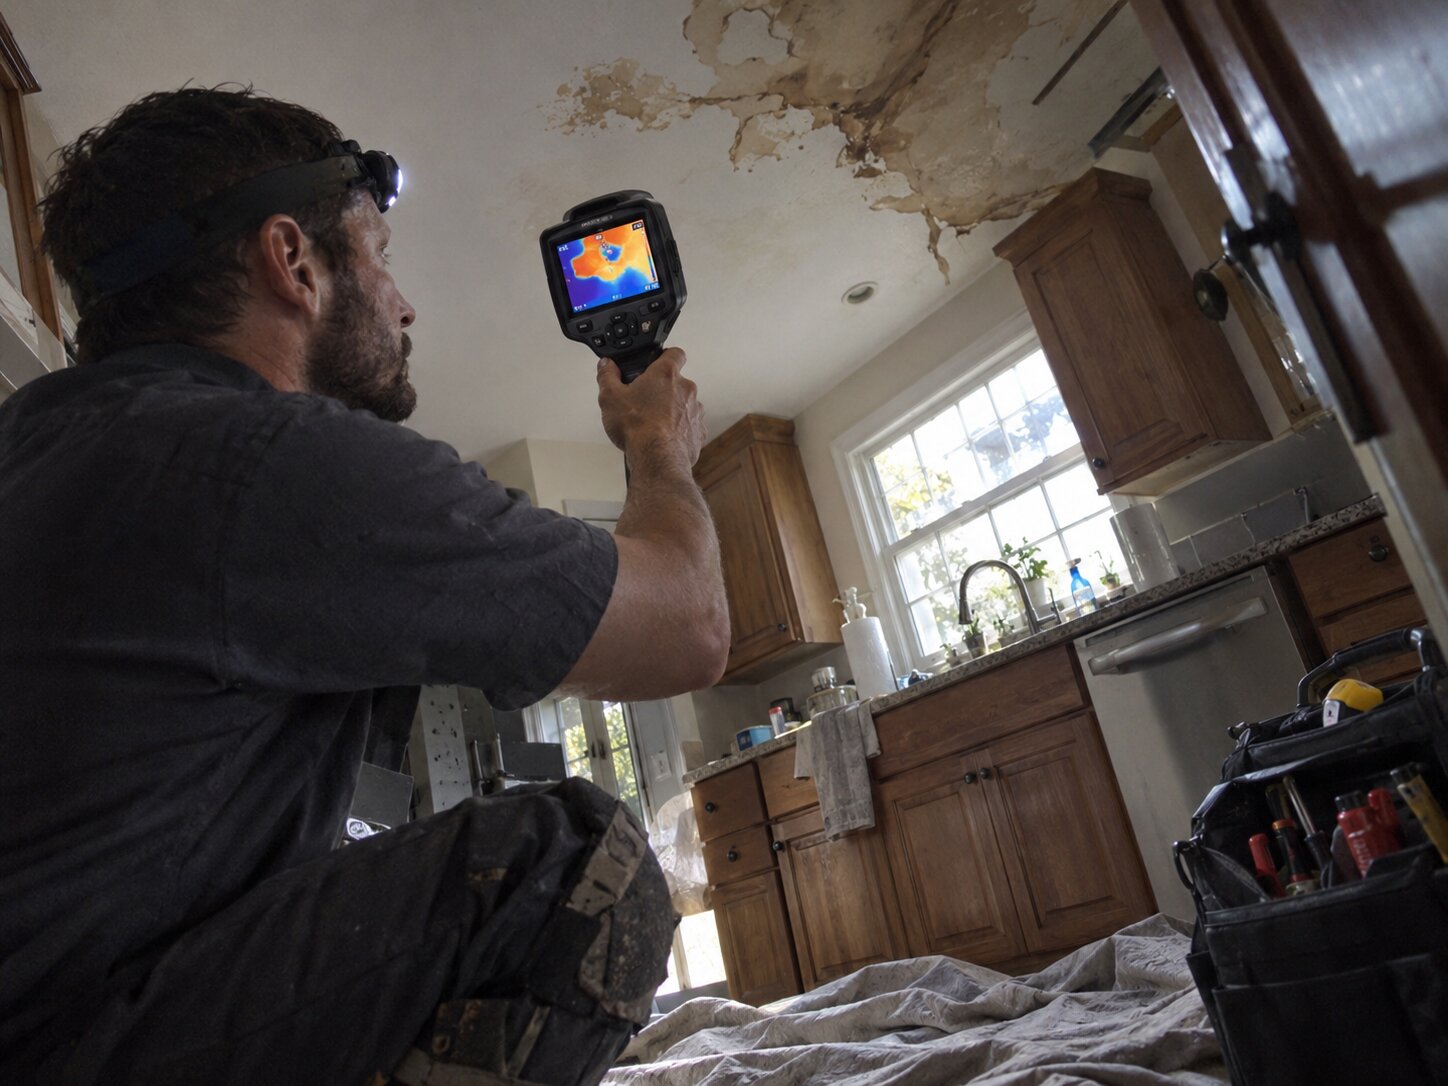
Drywall Repair After Water Damage — Utah County
Drywall is the material most commonly affected by residential water damage — and the material most commonly mishandled during restoration. The decision of whether to dry drywall in place, remove and replace it, or perform selective cut-back and repair depends on factors that aren’t always obvious to property owners: water category, drywall condition, extent of wicking, presence or absence of insulation, structural function, and cost considerations. Getting the decision right the first time avoids the common problem of “restored” drywall that develops staining, structural degradation, or mold growth weeks or months after the visible restoration is complete. Vault Mold Removal handles drywall assessment and repair as part of standard water damage restoration across Utah County, applying IICRC S500 criteria for material decisions with documented moisture verification throughout the process.
The Restoration vs. Replacement Decision
IICRC S500 provides specific criteria for drywall handling based on the specific water event conditions. The decision framework:
Category 1 (Clean Water) Drywall
- Drywall wetted for less than 48 hours with prompt drying response: typically restorable in place
- Drywall wetted more than 48 hours or with delayed response: assessed case-by-case; often restorable but may require selective removal
- Drywall with visible damage (bulging, sagging, staining, delamination): typically replaced regardless of category
- Drywall paper severely deteriorated from wetting even without visible bulging: typically replaced due to compromised structural integrity
Category 2 (Gray Water) Drywall
- Standard approach: base course removal (typically 12–24 inches from the floor) with drying of remaining upper drywall in place
- Additional removal for wicking areas identified through moisture mapping
- Insulation removal from any affected wall cavities to allow proper drying and prevent hidden mold
- Disinfection of framing and remaining drywall before drying
Category 3 (Black Water) Drywall
- Complete removal of all drywall that contacted contaminated water — typically 2–4 feet from the floor at minimum, potentially entire wall assemblies for severe events
- Additional removal for any visible wicking, staining, or moisture beyond the wetted area
- Full insulation removal from all affected wall cavities
- Framing decontamination before any drywall replacement
Drywall Wicking Behavior
One factor that surprises property owners: drywall wicks water upward from the wetted area by capillary action through the gypsum core. A floor-level water event can produce moisture 12–24 inches above the floor even without direct contact with the water. This is why cut-back for water damage extends well above the visible wetted area.
Wicking behavior varies by:
- Duration of contact: Longer contact produces more wicking, though the process slows as the drywall becomes saturated to different levels
- Water category and temperature: Warmer water and lower-viscosity contamination wick faster
- Drywall type: Standard drywall wicks faster than moisture-resistant (greenboard) or Type X fire-rated drywall
- Wall assembly: Insulation type and installation affect wicking patterns
Moisture mapping with pin meter (Delmhorst BD-2100 for gypsum) verifies actual moisture levels beyond visible boundaries. Typical dry standard for drywall paper: 1% or below.
Drying Drywall in Place
Where drywall can be effectively dried in place, the process:
Preparation
- Removal of baseboard and any built-in obstructions to allow airflow at the wall base
- Removal of electrical outlet and switch covers where affected
- Drilling of “flush holes” at the base of affected walls to allow moisture to escape and air to circulate through the wall cavity
- Insulation removal from affected wall cavities where necessary for effective drying
Drying Setup
- Air movers positioned to direct airflow across drywall surfaces
- Additional airflow directed into wall cavities through flush holes or removed baseboards
- Dehumidification appropriate to the space volume and moisture load
- Ambient temperature control (drying is significantly slower below 50°F)
Monitoring
- Daily moisture readings at established grid points
- Pin meter verification of drywall paper moisture
- Non-invasive scanning to verify entire wall section is drying uniformly
- Drying continued until dry standard (1% or below drywall paper) is achieved consistently
Restoration Completion
- Reinsulation of any wall cavities where insulation was removed
- Patching of flush holes with drywall compound
- Baseboard reinstallation
- Outlet and switch cover replacement
- Priming with stain-blocking primer (typically alcohol-based) over any staining or water marks
- Repainting to match surrounding areas — typically full-wall repainting rather than spot painting to avoid visible touch-up boundaries
Cut-Back and Replacement
Where drywall requires removal, the process:
Cut-Back Line Determination
- Standard cut at nearest structural stud beyond wicking area (typically 24″–48″ above the floor for base flood, higher for severe wicking)
- Cut horizontally along the entire wall section to minimize joint work during replacement
- Full-wall removal in cases where wicking extends most of the wall height or where damage is severe
Removal Technique
- Score cut along the intended cut line
- Removal in manageable sections to allow inspection of the wall cavity behind
- Insulation assessment and removal where warranted
- Framing inspection for hidden damage and moisture
- HEPA vacuuming of any dust or debris
Cavity Preparation
- Framing moisture verification (target 15% or below for standard framing, matched sample for hardwood)
- Antimicrobial application where Category 2 or 3 water was involved
- Encapsulating primer on framing where visible staining remained after cleaning
- Reinsulation with new insulation matched to the wall assembly type and R-value requirements
Drywall Replacement
- New drywall cut to fit the opening precisely
- Drywall type matched to the existing wall (Type X for fire-rated walls, greenboard for wet areas)
- Attachment with drywall screws at appropriate spacing
- Joint work: tape, three coats of compound with sanding between coats
- Corner bead installation where needed
Texture Matching
Utah County residential properties typically have textured drywall surfaces — knockdown texture is most common, followed by orange peel, popcorn (mostly on ceilings in older homes), and smooth. Texture matching is the visible test of drywall repair quality:
- Assessment of existing texture pattern, technique, and finish weight
- Sample texture application on scrap drywall to verify match before applying to the repair
- Application matching the existing pattern — splatter timing, knockdown timing, spatter density
- Primer application after texture cures
- Full-wall painting rather than spot painting to avoid texture-transition visibility
Texture matching is where DIY drywall repair typically fails visually — the repair may be structurally sound but obvious from the texture mismatch. Professional finishers can typically match textures well enough that repairs are invisible after painting; poor matches are visible even at typical viewing distances.
Common Drywall Situations in Utah County
Basement Wall Flooding
Basement wall drywall in Utah County properties is typically hung on furring strips against concrete or CMU foundation walls. Water events at basement floor level typically wick 12–36 inches up the drywall via the paper face and the gypsum core. Standard response is base cut-back at 24″ or 36″ depending on wicking extent, with removal of any insulation in the affected cavity space between furring strips.
Upper-Floor Ceiling Damage
Water events on upper floors produce ceiling drywall damage in the space below. Ceiling drywall damage requires: assessment of the extent of wetting (typically wider than visible staining suggests), removal of affected sections, cavity drying, and replacement. Ceiling repair is more visible than wall repair because ceilings are typically viewed at wider angles than walls.
Bathroom Drywall
Bathroom drywall (particularly around showers, tubs, and vanities) is a specific case. Moisture-resistant greenboard drywall is standard in bathrooms; cement backer board is standard behind tile installations. Water damage to bathroom drywall often extends behind fixtures and cabinets that must be removed for proper assessment and repair.
Fire Aftermath Drywall
Fire damage typically produces both water damage from suppression and structural damage from heat. Fire-affected drywall usually requires complete removal from the fire area regardless of water category, since heat exposure degrades the paper facing and often the gypsum core. Fire-adjacent drywall (unburned but heavily smoke-affected) may be salvageable through cleaning and encapsulation.
Frequently Asked Questions
- Why can’t I just dry my drywall with a fan and repaint it?
- Sometimes you can, if the water was clean (Category 1), the exposure was brief (less than 48 hours), and there’s no visible damage or bulging. In those specific situations, air drying with box fans can be adequate. The problems arise when: the water wasn’t Category 1 (any contamination requires antimicrobial treatment); the exposure was longer than 48 hours (microbial amplification begins and materials may need removal); wicking extends further than visible (hidden moisture damages drywall structurally); or insulation is behind the drywall (wet insulation can’t be effectively dried without removing the drywall). What often happens with DIY drying: the visible drywall dries but the paper facing has deteriorated, so paint doesn’t hold; hidden mold develops in the wall cavity within 30–60 days; or repeated moisture cycles from unresolved sources cause progressive damage. If you’re confident about the water conditions and exposure timeframe, DIY drying can work; if you’re not sure, professional assessment is worth the cost.
- How much drywall do you typically need to remove after water damage?
- Depends on the specific event. Minimum standard cut-back is typically 12″ above the wetted area for Category 1 water and 24″ for Category 2. Category 3 water requires 24″ minimum, with actual cut-back extended based on moisture mapping results. Wicking sometimes extends significantly higher than these standards suggest — we’ve seen wicking to 48″ above floor level from base floods with extended contact duration, and full-wall replacement is sometimes warranted for severe or long-duration events. The specific cut-back for your event is determined by moisture mapping after initial extraction, and we typically walk through the results with property owners so the reasoning is clear before the work proceeds.
- Will the repaired area be visible after painting?
- Not if the texture matching is done properly and the wall is repainted fully. Texture matching is the visible test — good texture matching produces repairs that are invisible even under raking light or close inspection. Full-wall repainting after repair (rather than spot painting the repair area) eliminates any paint sheen or color-boundary issues that could otherwise make repairs visible. Where repairs sometimes remain visible: extremely light-colored walls under harsh raking light (small texture variations can show under those conditions), or repairs to unusual or older texture patterns that don’t match modern products exactly. In most residential situations, professional repair produces invisible results.
- Do I need to repaint the entire room, or just the repair area?
- For visual quality, typically the entire wall containing the repair, at minimum. Painting only the repair area typically produces visible transitions where the new paint meets the old — even when the paint color is exactly matched, aging and light exposure produce subtle differences between fresh paint and older paint. Full-wall repainting eliminates that boundary. Whether to extend to full-room repainting depends on: age and condition of the surrounding painted surfaces, whether other walls in the room have any damage or wear that would benefit from repainting, and the property owner’s preference. Insurance typically covers repainting to the “reasonable extent needed to return the property to pre-loss condition” which typically means full-wall repainting for wall repairs but not automatically full-room repainting.
- How long does drywall repair take within a water damage restoration project?
- Depends on scope. Small localized repair (single wall section, limited scope) typically takes 2–3 days including drying, joint compound curing between coats, texture, and painting. Larger repairs (multiple walls, extensive replacement) typically take 5–10 days. Whole-property repair after major water events can take 2–4 weeks just for the drywall phase. The main time driver is joint compound curing time — each coat needs to cure before the next can be applied, and sanding between coats is dust-generating work that requires cleanup before the next step. Weather and humidity affect curing times; standard estimates assume typical interior conditions.
Contact Vault Mold Removal — Provo, UT
For drywall repair after water damage, second opinions on prior drywall work, or questions about specific drywall situations, contact our office directly.
- Phone: (385) 250-2825
- Address: 1169 S 760 W, Provo, UT 84601
- Utah DOPL General Contractor License: #11876543-5501
- IICRC WRT / ASD / AMRT / OCT: #248317 / #248317-ASD / #319482 / #319482-OCT
Office Hours
- Monday – Saturday: 9:00 AM – 5:00 PM
- Sunday: Closed
Helpful guides: How long drywall takes to dry · Painting over water damage